Step 7.1: Add a Design-Set to the Assembly-Tree

<< Click to Display Table of Contents >>

Navigation:  Getting Started Tutorials - MechDesigner > Tutorial 7: Design-Sets >

Step 7.1: Add a Design-Set to the Assembly-Tree

Add a Design-Set to the graphics-area

STEP 1: Add a Design-Set FB to the graphics-area

GST-Icon-FB-DesignSet

1.Click Modeling FB toolbar  > Add Design-Set

or

1.Click Add menu > Add Design-Set FB


2.Click the graphics-area

The Design-Set FB is now in the graphics-area and Assembly-Tree.
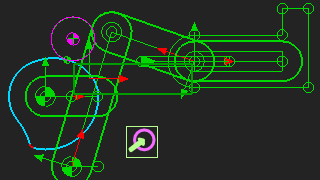
Design-Set in Graphic-Area - No Caption

Design-Set in Graphic-Area - No Caption

Save your model.

Display Function-Block names as Captions

If in the graphics-area, you cannot see the element name of the Design-Set FB above its icon, ...

STEP 1: Enable Display Function-Block names

GST-Icon-ApplicationSettings

1.Open the Application-Settings dialog in the Edit toolbar

2.Select the Graphics tab > Display Options >

3.Enable Show Function-Block names

4.Close the dialog.

STEP 2: Rename the Design-Set

1.Click the Design-Set FB in the graphics-area -

The Design-Set FB is now in the Selection-Window.

2.Right-click the Design-Set in the Selection-Window

3.Click Rename element in the shortcut-menu

4.In the Rename dialog, enter Pressure-Angle as the New-Name

5.Press the the Enter key, and

6.Click OK-tiny-13-17 to close the Rename dialog

Save your model.

GST-7-102