Summary of the Step
The sketch-loop is blue. Blue sketch-elements are not fully defined. You now add Vertical, Horizontal (or Parallel) constraints and a Dimension to control the design intent of the sketch-loop. |
Add Parallel Constraints with Axes
|
STEP 1: Add Parallel Constraint
|
||||
|
|||||
|
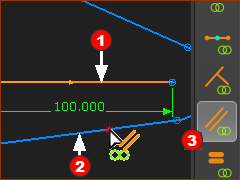
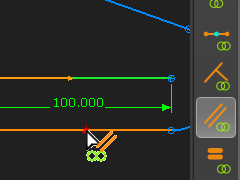
STEP 1: Add Vertical Constraint
|
||||
|
|||||
Dimension the Sketch-Loop
|
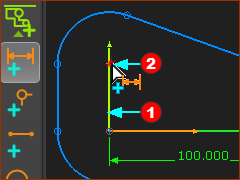
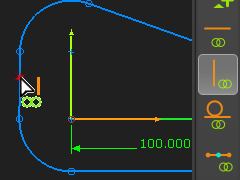
STEP 1: Add Dimension
The Dimension dialog opens – see the image to the left
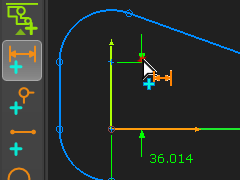
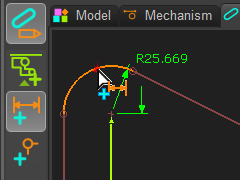
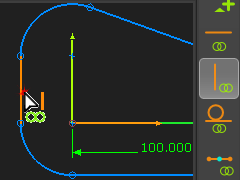
Continue to add dimensions - Add Dimension is active. STEP 2: Add Dimension to Arc
The Dimension dialog opens – see the image to the left
|
||||||||
|
|||||||||
|
|||||||||
|
|||||||||
|
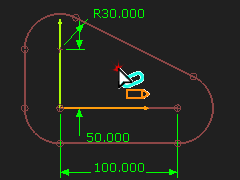
Result
|
||||||||