Summary of this Step
Before we can do Add 2D-Cam, we must add a Follower-Roller to one of the two Parts in the Transforming-Mechanism. We do not have a command: Add Follower-Roller. You must add a Circle as a sketch-loop to a Part. Then, add a Profile to the sketch-loop. The Profile is Follower-Roller. |
Video of this Step

Video: Add a Cam-Roller
|
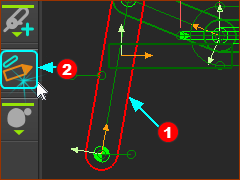
STEP 1: Open the Part-Editor to edit the longer Part in the dyad
The Part is now open in the Part-Editor. |
|
|
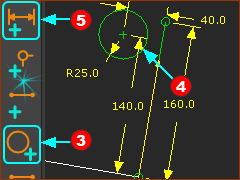
STEP 2: Add the Follower-Roller
|
|
|
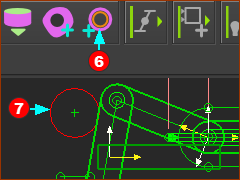
STEP 3: Add a Profile to the Follower-Roller
A Profile/Extrusion is now coincident with the circle. |
|
|
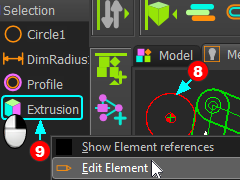
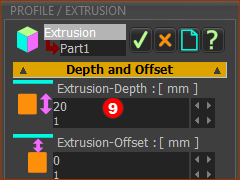
STEP 4: Open the Profile / Extrusion dialog to edit Extrusion-Depth
The Extrusion dialog is now open. |
|
|
STEP 5: Edit Extrusion-Depth parameter
Save you model : Ctrl+S |