Model / Mechanism Options
Use the Model-Options dialog to confirm the file-name and path of the CAD Files for CAD-Solids that you have imported onto CAD-Lines - see Synchronize CAD-Files tab
Also, use the Model-Options dialog to change the lighting in the graphics-area - see Lighting tab
Terminology:
CAD-Solid : |
A 3D CAD model that you can import onto a CAD-Line. You can import the CAD model directly from SOLIDWORKS, or you can browse to find and import an STL file. - see CAD-Line dialog |
|
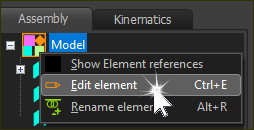
1.Double-click the Model or a Mechanism element in the Assembly-Tree OR 1.Right-click the Model or Mechanism element in the Assembly-Tree 2.Click Edit element in the shortcut menu |
The Model Options dialog is now open. |
|
Model Options dialog

Model Options dialog
There are two tabs.
There is a list of the CAD file names that you have imported onto CAD-Lines with the CAD-Line dialog. Notes
CAD models:
|
||
 Model Option dialog |
||
Control Buttons:Use the control buttons to re-import or find SolidWorks files if they are not up-to-date.
|
Group Lights Editor  Model Options > Lighting tab |
|
Note: It is frequently better to decrease Ambient Light Levels, and increase Diffuse and Specular Light Levels to view MD-Solids and CAD-Solids. |
|
Individual Light Editor 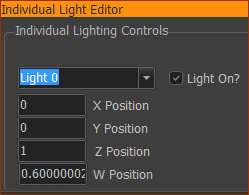 |
|
An External link to Light : Good Luck! |